How to Re-Ink Light Duty Self Inking Stamps
|
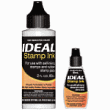
This guide applies to light-duty (plastic body) self inking stamps and daters. Please follow these simple instructions when re-inking your stamp. Always use a water-based ink, such as Ideal brand ink, when refilling your self inking stamp. Using an incorrect ink formula can cause permanent damage to your stamp.
Note: Always place a few sheets of scrap paper beneath your stamp while removing and refilling the ink pad. The ink used in self inking stamps may stain surfaces, skin and clothing. Wash your hands with soap and water to remove ink from skin. |
 |
|
Ideal Ink | |
 |
Step 1
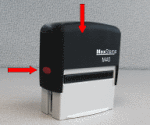
While holding the buttons on either side of the stamp, press down slightly until the stamp "locks". Do not press down all the way (fig. 1) - the stamp pad should be visible with the stamp "locked" in position (fig. 2).
|
 |
|
Fig. 1 |
|
|
 |
|
Fig. 2 | |
 |
Step 2
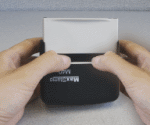
Using both thumbs, press firmly on the ink pad until it pops out of place.
|
 |
Step 3
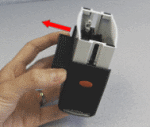
Pull the ink pad from the stamp. Avoid touching the inked side of the ink pad. |
 |
Step 4
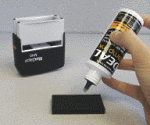
Add a few drops of ink to the pad and wait 1-2 minutes to allow the ink to absorb. Blot any pooled ink from the surface of the pad using a sheet of paper or low-lint paper towel. |
 |
Step 5
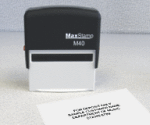
Replace the ink pad and stamp down 3-5 times to revive image. |